5 Steps to Recording a Great Interview with iPhone
RECORDING AN IPHONE INTERVIEW IS AS EASY AS A,B,C…
When it comes to recording interviews, there’s no hard and fast rule on how to do it right. Some like high-end productions, film crews, and a well-dressed set. Others just grab their subject, point and shoot (we’re lookin’ at you, Billy Eichner). But in this new remote video production revolution being led by smartphones, mobile apps, and 5G speeds, there are definitely some tried-and-trusted steps to success that you can take to get a great result every time.
By far the leader of the interview equipment pack is Apple, with the iPhone now being the go-to device for everything from short and sweet content to full length movie productions being shot on just one device. And of course, the limits that applied to more traditional forms of production have been removed. No more travel, crews, and couriers delivering hard drives filled with content. Now you can get your remote footage from one side of the world to the other in minutes instead of days (or sometimes weeks).
However, going into your next iPhone interview fully prepared is crucial. There are definitely a few hiccups that could happen if you aren’t buttoned up ahead of time, and these days even the smallest disruptions can put a big dent in your content plan.
So we created a five-step process that ensures iPhone interview gold time, after time, after time. It’s what we like to call the A,B,C,D,E technique. Easy to learn, hard to forget.
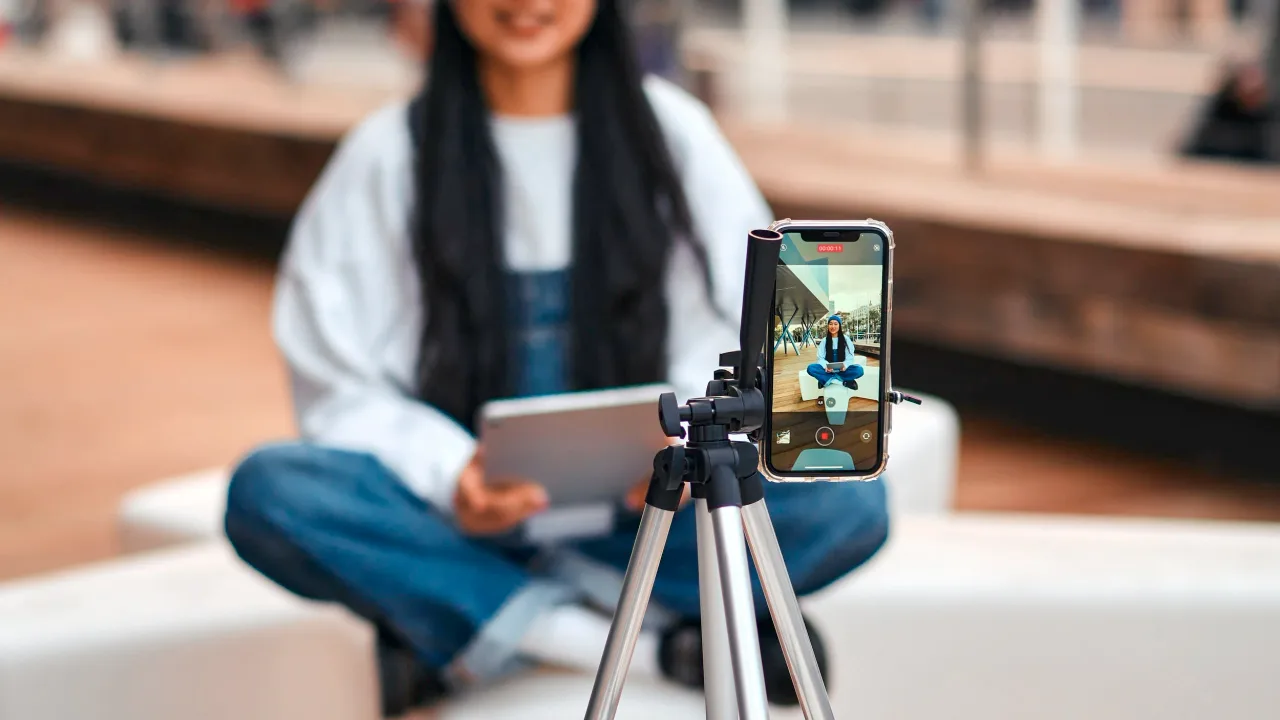
A - AUDIO & LIGHTING
If you can’t hear and see the subject clearly, everything that follows is moot. And while you don’t need to go all-out with the huge lighting rigs and booms, you do need to perform a few simple but effective checks to guarantee success. First, find a quiet place to record. Background noises can kill your content. And if possible use an auxiliary mic plugged into the iPhone for superior audio.
Next, record the room tone for 10-15 seconds without anyone talking. This will be invaluable during the edit, using room tone to avoid sharp cuts in your audio. And finally, lighting. Look for shadows on the interviewee’s face and adjust the lighting accordingly. They need to be well lit, not ominous looking.
Lighting takes a shot from good to great.
B - BREAKING FILE
Speak to any experienced camera operator and they’ll tell you that whenever they record an interview, they’ll break file (stop recording) at every chance they get. Why? Well, first up as soon as you stop recording the footage saves. It’s safe and “in the can.” Think of it like regularly saving any kind of doc, from Final Cut Pro to Photoshop.
If you try and get a 20-30 minute interview in only one take you’re just asking for trouble. For a start, that’s going to create an incredibly large file to upload. You also run the risk of having that one take being interrupted by a call, email or text message, creating issues with storage, a corrupted file or any number of other issues. So just remember, break file and break often. You’ll have smaller, bite-sized pieces of footage to easily and quickly upload and edit.
Social Content is short, small clips. Not hour long interviews.
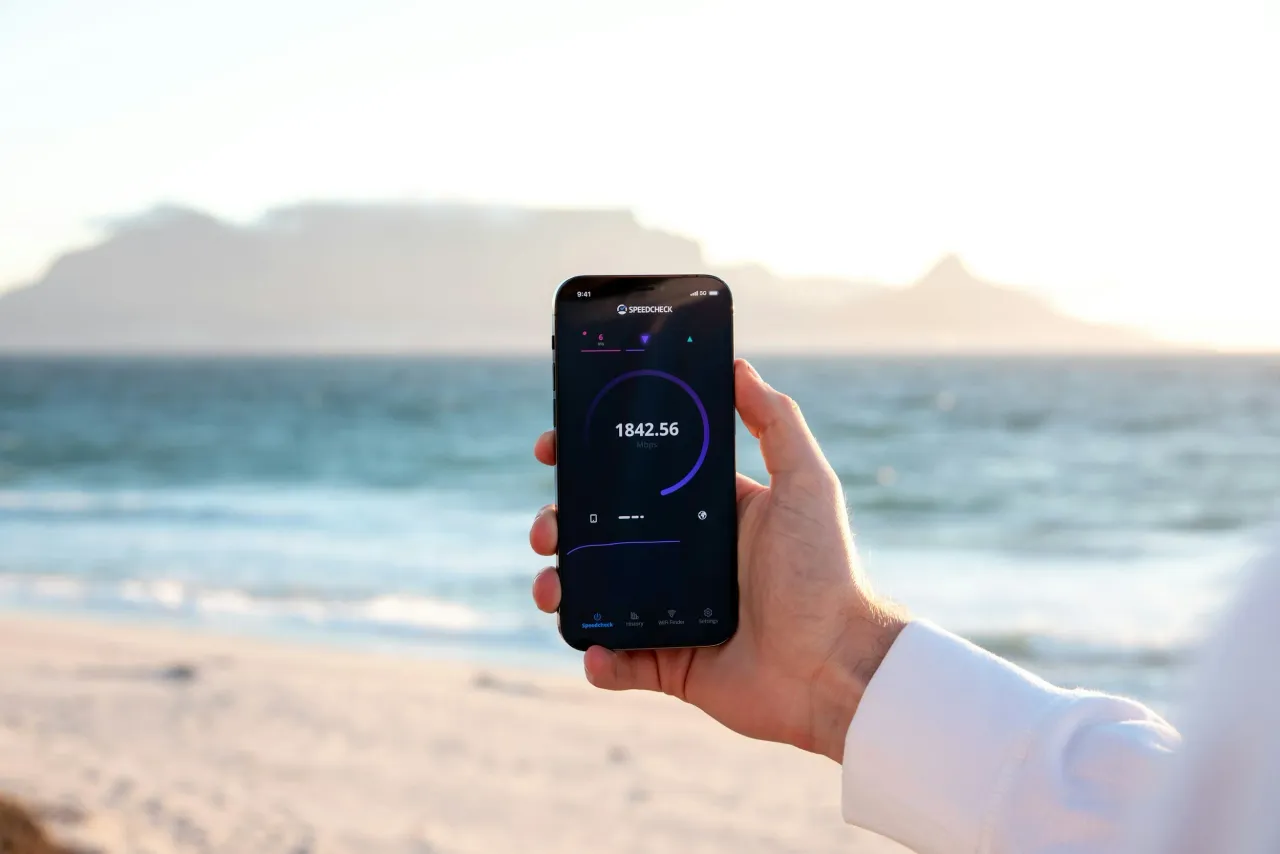
C - CONNECTIVITY
If you’re using an app like Cinebody, that auto uploads your footage for instant access, you want to ensure a solid and stable internet connection. That way, every time you stop recording (see above) the files will upload faster. Bear in mind, five 1GB files take less time to upload than one 5GB file, not to mention these files are quickly uploaded as you film. So once again, small files coupled with fast, stable internet will always be your best strategy.
D - DEVICE BASICS
We could have called this the “duh” section, but we’re all guilty of forgetting even the most simple things before a shoot. What this means is check the iPhone. Have a full battery AND have ample storage before filming. A 5-minute clip at 4K can take up approximately 3.5-4GB depending on your FPS, so make sure you have ample footage for saving clips and capturing b-roll. If that means transferring a bunch of files to the cloud before the shoot to create space, give yourself ample time to get that done.
E - ENSEMBLE (WARDROBE)
OK, you got us, it’s a bit of a stretch. Yes, ensemble is a fancy term for wardrobe (but whoever heard of A, B C, D, W?) Anyway, whatever you like to call it, don’t let it be an afterthought. If you’re shooting against a white cyc, don’t dress the subject in white. Use colors that stand out and complement the subject (some people look better in certain colors so ask them about it), and make sure the clothing fits well. Nothing too baggy, or too tight. And PRO TIP - avoid striped clothing. That can often result in “the moiré effect” - in layman's terms, weird squiggly lines that either give you a headache or make you turn away to avoid it.
And there you have it. Audio & lighting, Breaking File, Connectivity, Device basics, and Ensemble. A,B,C,D,E. Keep it in mind for every iPhone interview and you’ll get a stellar result every time.
Turn your community into your content team.
See how Cinebody captures authentic video at scale.
Book a Demo →